
Full-color sparkle
Fine detail, gradients, a bright white underbase, and visible glitter in one finished transfer.
READY TO BUILD
Arrange your artwork, review the finished sheet, then add it to your order.
Your selected sheet size opens inside the builder. You can change it there at any time.
Sign in before building so your artwork can move safely into your order. A free account is enough. Select Build your sheet to sign in and return here.
Build one or more sheets at full size. Every nonempty sheet is included when you review your order.
Enter your phone number to continue.

Fresh Prints press guide
A specialty, full-color DTF transfer with visible sparkle built across the printed artwork. The white underbase and adhesive arrive ready to press—so you get bright color, fine detail, and glitter impact without vinyl cutting, weeding, or color-by-color layering.

Fine detail, gradients, a bright white underbase, and visible glitter in one finished transfer.
Trim apart the transfers you need, then place, press, and peel—no vinyl weeding required.
Ideal for spirit wear, dance teams, boutiques, celebrations, and statement graphics.
This specialty film is cold peel only. Let it cool fully before removing the carrier.
Start here
These are starting settings for our Glitter DTF transfers. Heat presses and garments vary, so test unfamiliar fabric and follow the garment care label.
Finish strong: after peeling, cover the design with parchment or the approved cover sheet and post-press for 5 seconds.
Four-step application
The repeatable cold-peel workflow for clean edges, strong adhesion, and a consistent glitter finish.
 01
Move seams, collars, pockets, buttons, and zippers off the platen. Pre-press for 3–5 seconds to flatten the fabric and remove moisture.
 02
Place the printed adhesive side against the fabric. The artwork should read correctly through the clear carrier. Keep the glitter surface clean and every part of the design on a flat pressing surface.
 03
Apply the correct temperature, 10–15 seconds, and medium-to-firm pressure. Do not open the press early, slide the garment, or let a seam steal pressure from the design.
 04
Move the garment to a flat surface and let the transfer cool completely. Peel the carrier low and steadily. If any area lifts, stop, lay it back down, repress, and cool fully before trying again.
Do this
Avoid this
After pressing
FRESH PRINTS / GANG SHEETS
Glitter DTFBuild your own
Your artwork. Your layout. One ready-to-print sheet.
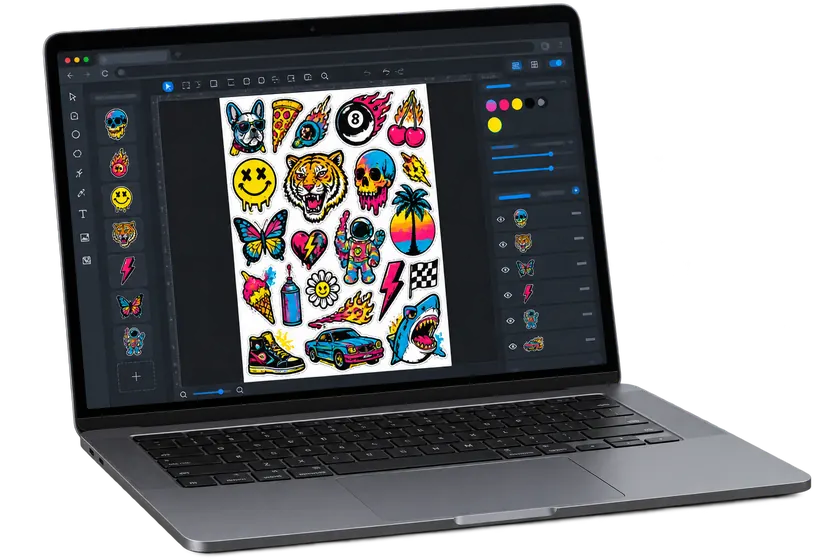
Add your logos, set their print sizes, and arrange your sheet in the studio.